Hello there, and welcome! Today we’re going to show you how to use a Wahl beard trimmer. The entire process may seem a little mysterious at first, but it’s really pretty simple, and with a couple tries, chances are very strong you’ll be giving yourself a great beard trim in no time flat.
Before we jump in, we should mention—while Wahl is one of our favorite makers of beard trimmers (and we review our favorite Wahl trimmers here), using a Wahl to shape your beard is basically the same as using any other kind of beard trimmer. So if you’ve got non-Wahl beard trimmer and you’ve found yourself on this post, the process should be roughly the same.
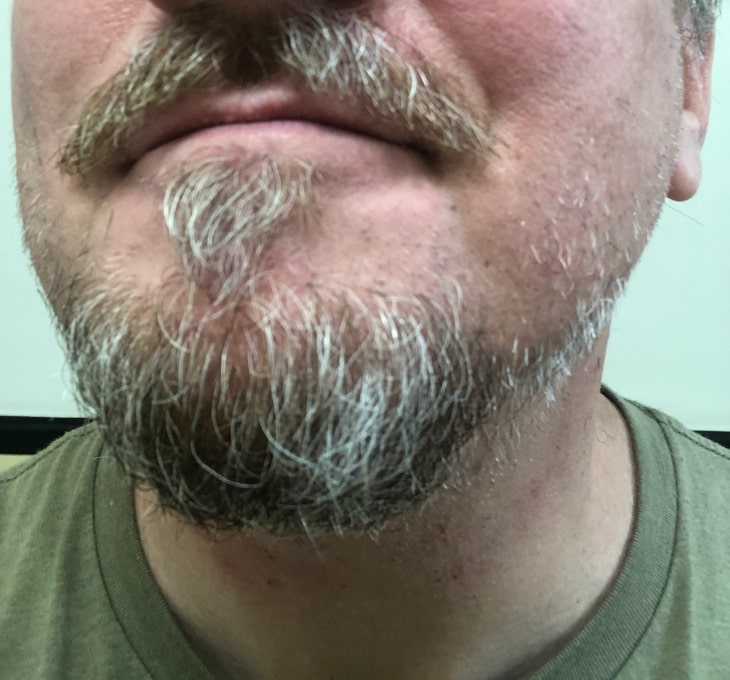
Alright, with that out the way, let’s get to it. Here’s our handsome beard model, and as you can see, he’s got a shaggy old beard that needs some love:
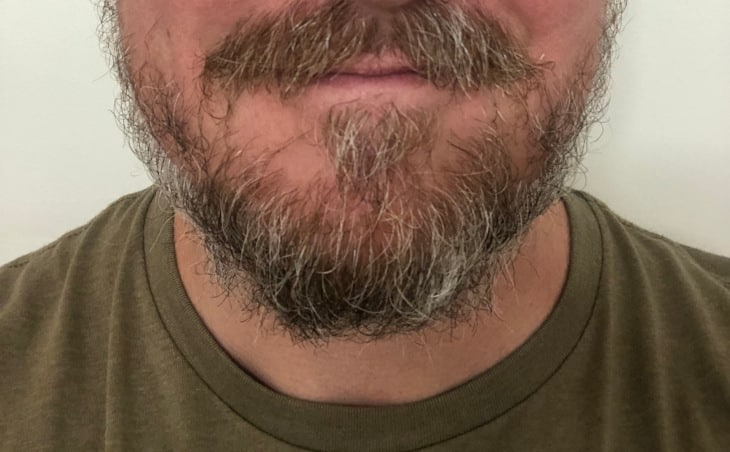
There’s a lot of good stuff going on here: this guy has a solid mustache and some nice growth at the chin—but obviously there are some issues we’ll need to take care of, including…
> a bunch of fly-aways and loose hairs pointing outward at the sideburns;
> plenty of whiskers hanging down over the top lip;
> a disorganized soul patch, that grows out in all directions; and
> underneath the chin, hairs that grow out of the neck (and we’ll include a photo of that later).
To tackle this beast, we’ll be using the Wahl Lithium-Ion All-in-One Beard Trimmer. It looks like this:
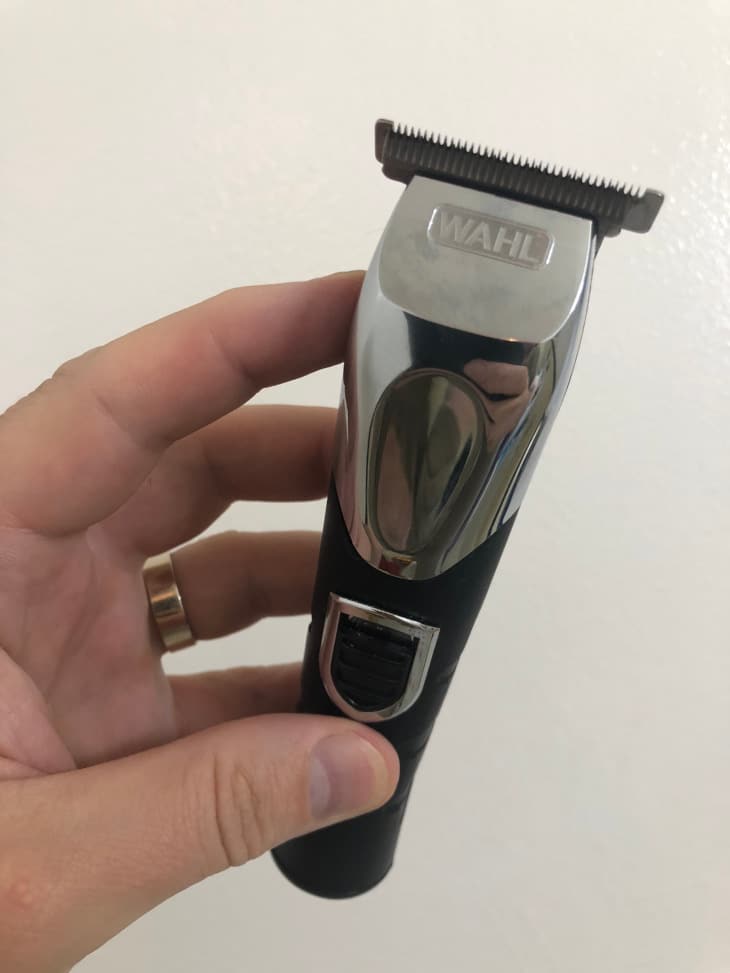
You’ll notice the shaver head at the top. This particular model comes with two shaver heads, each with a different width:
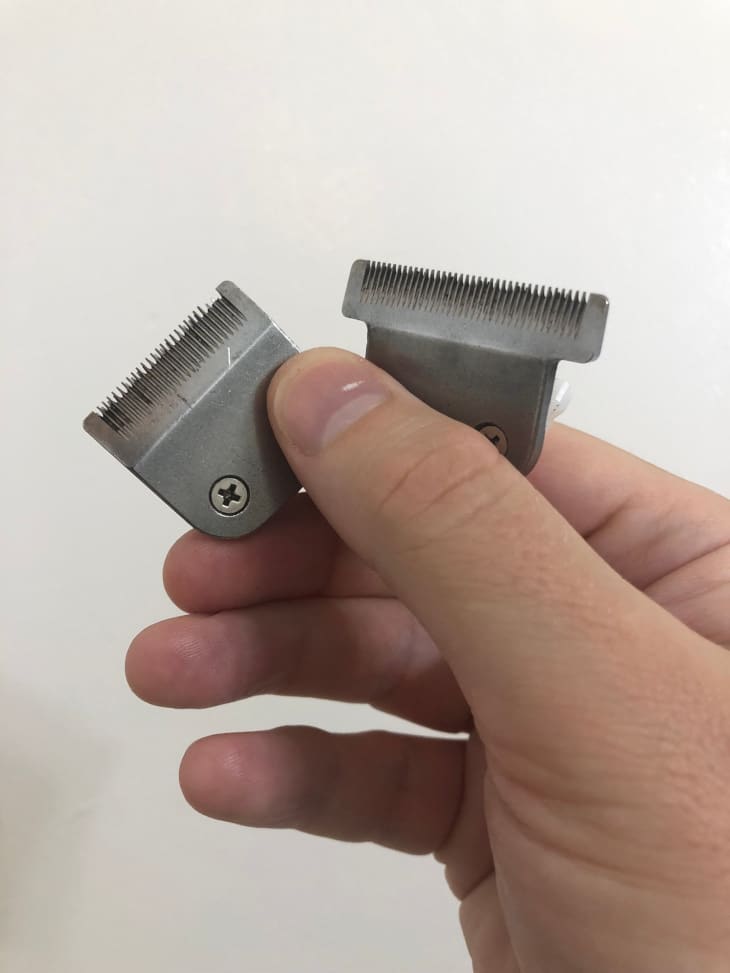
There’s a thin one, on the left, and a wider one, on the right. You can use either one—the wider one covers a little more ground while you’re shaving, and some guys like that, whereas other guys like the narrower one, because you can be a little more precise with it. In this post, we’ll be using the narrow one.
If you look closely, you’ll notice that the thinner one on the left has some broken teeth on it—that’s no good! If the teeth on your shaver head are broken, it might mean it’s time for a new trimmer (and we’ll get into why that’s the case a little later on).
Like most beard trimmers (and clippers), the Wahl Beard and Stubble Trimmer comes with a number of trim guards:
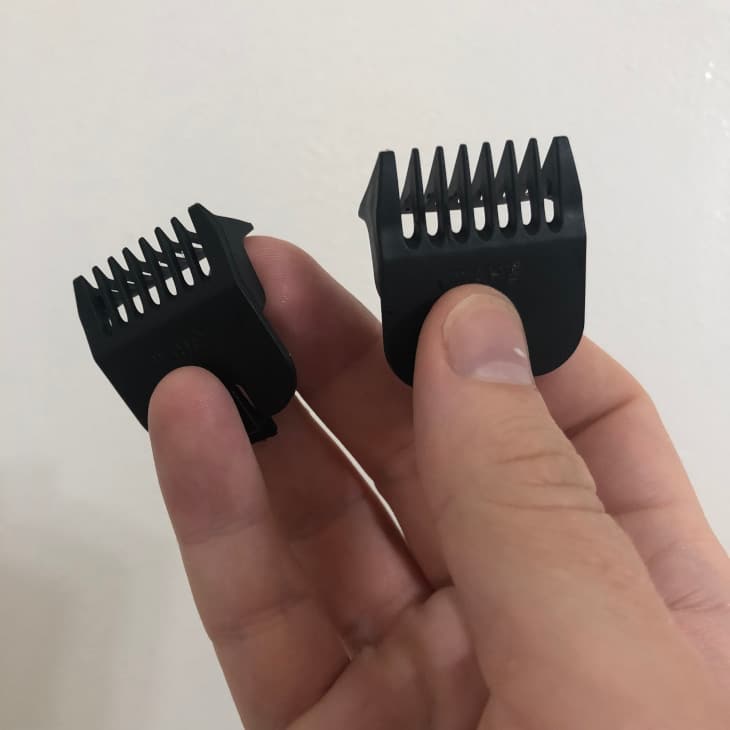
You can attach these onto the shaving heads, and it’ll clip your whiskers at different lengths. Trimmer guards with longer teeth (like the one on the right) cut your beard so that it’s a longer length, and trimmer guards with shorter teeth (like the one on the left) cut your beard so that it’s a shorter length. Basic trimmers come with five or six trim guards, and more “deluxe” models come with 10 to 14.
OK, back to that beard, and back to how to use a Wahl beard trimmer:
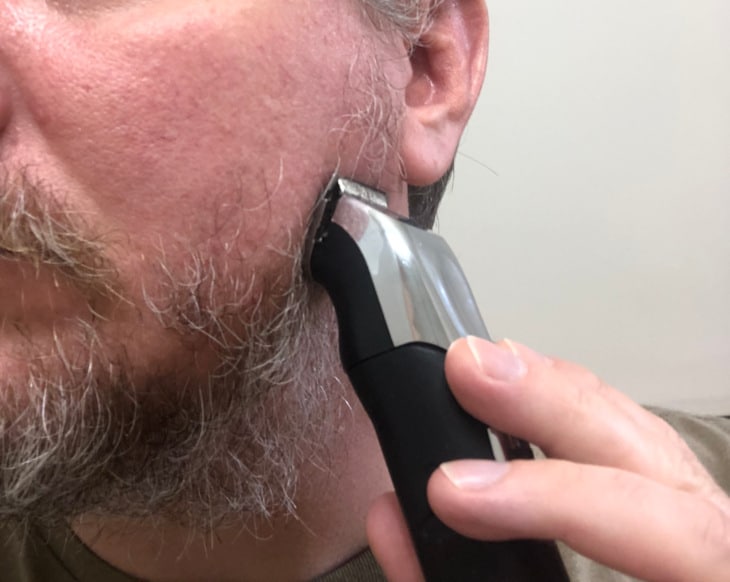
We’re going to tackle those sideburns first. Put the trim guard on the shaver head, and shave upwards slowly, like so:
The trim guard provides a little bit of distance between the blades on the Wahl trimmer and your hair, so if you’d like a closer trim, you’d use a smaller/shorter trim guard that shaves closer to your face, and if you’d like a trim that leaves your beard hair a little longer, you’d use one of the larger/longer trim guards.
By the way, you may be asking, “Which trim guard should I use?” Our advice is to start with the longest one, see how it looks, and if you want to get close, move to a smaller trim guard. After a few shaves, you’ll get an idea of how close the trim guards clip your whiskers, and which ones work for you.
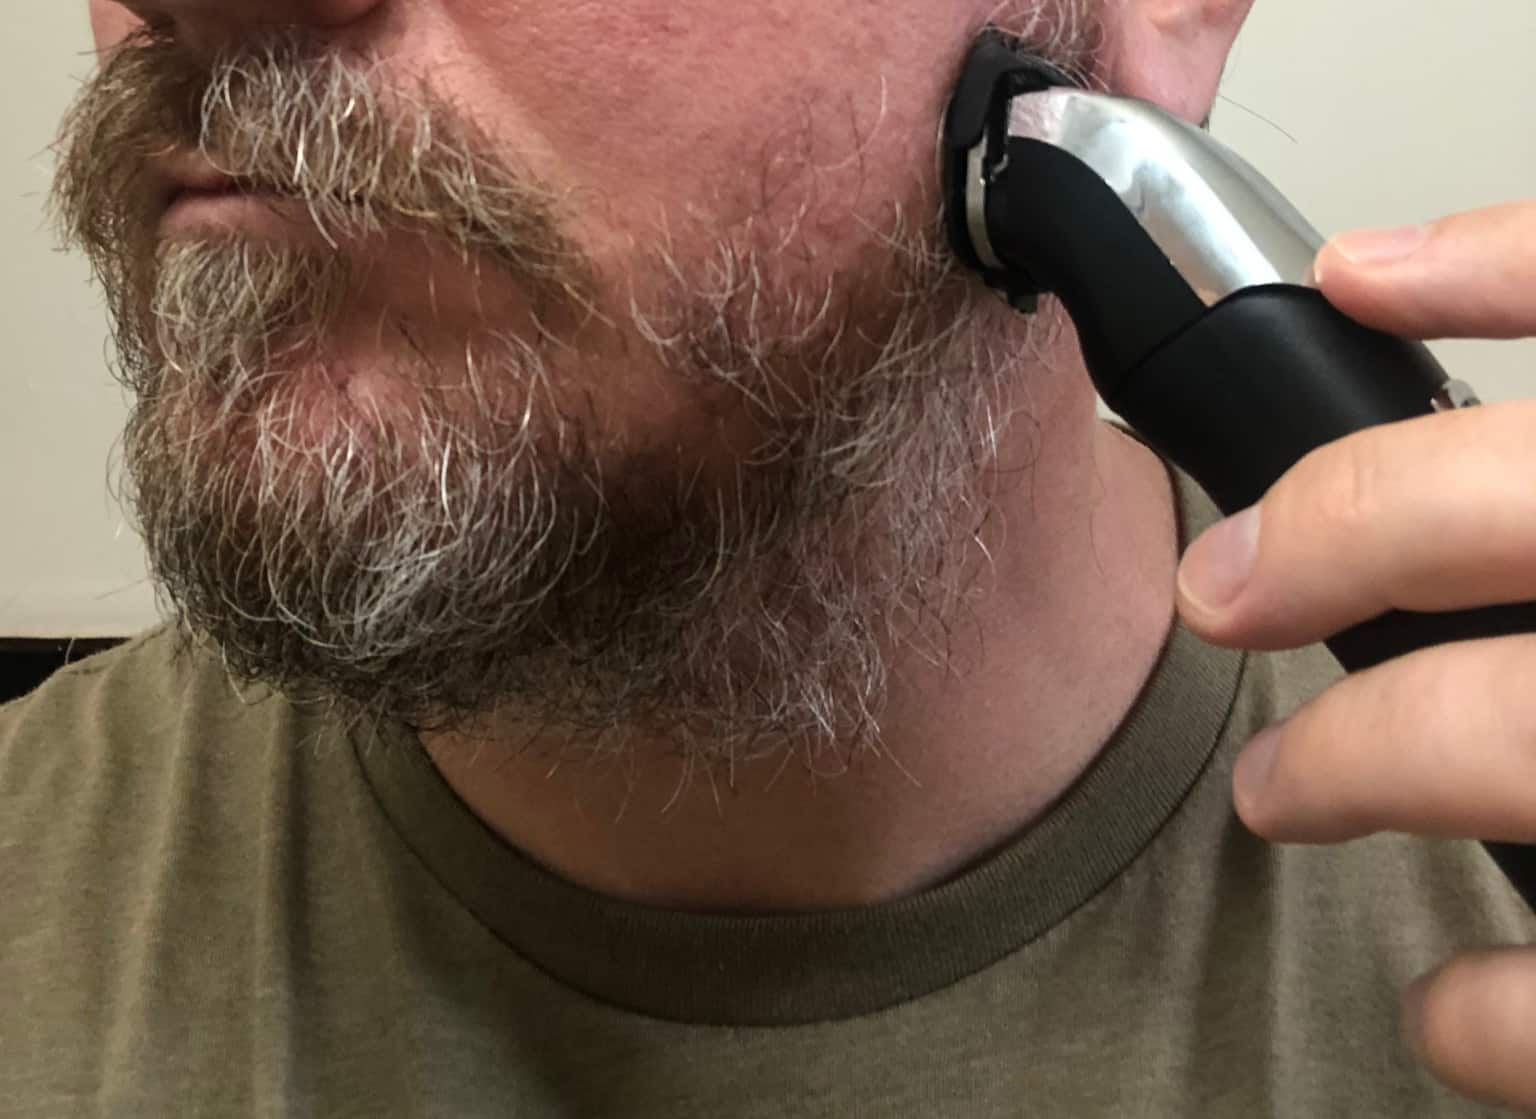
With that in mind, this guy went over his sideburns with the trim guard, then again with the smaller trim guard, all the way down to the smallest trim guard, and still didn’t like the look, so he took the trim guard off and brought the trimmer directly to his skin, like so:
That’ll take MOST of the hair off, and leave only a millimeter or two of stubble there. At this point, we should mention two things:
> You can skip down to the “After” photos below to see how long the whiskers are—they’re pretty short; and
> Now is the time in the process when your whiskers are going to start going over all over the place, and if you’re a guy who hates that, you may want to check out vacuum beard trimmers. They’re beard trimmers that literally have a vacuum under the shaving head, so they catch a lot of the whiskers that fly off your face after shaving, and save you a little clean-up when you’re done trimming. We love, love, love vacuum trimmers!
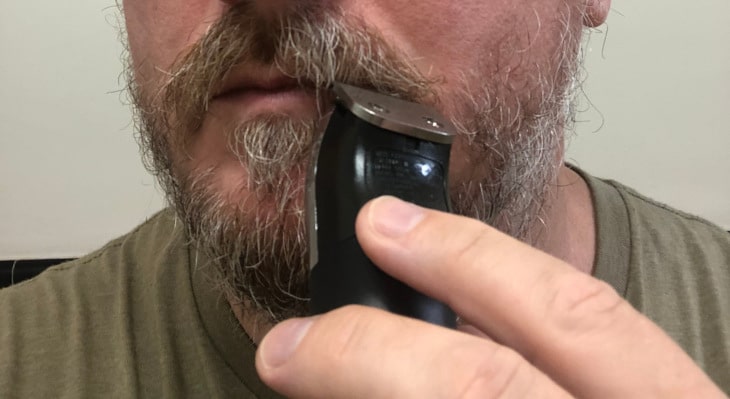
OK—now it’s time to tackle that mustache. To do so, just go directly onto the mustache with the trimmer—no trim guard necessary:
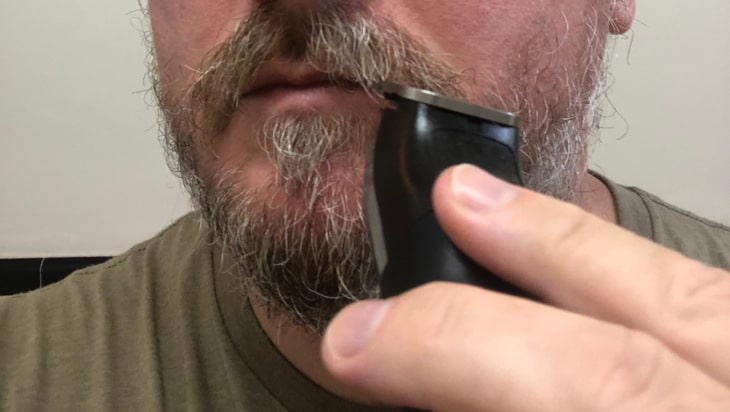
As you press into the mustache, you’ll feel and hear the blades chopping into those whiskers, and you’ll see them get cut immediately:
Do that on both sides of the mustache, and make sure it’s even—but most importantly, START LOWER DOWN NEAR YOUR LIP. After all, once you cut those whiskers off, they’re gone, and you if you cut your whiskers too high atop your lip, it’s going to look very strange.
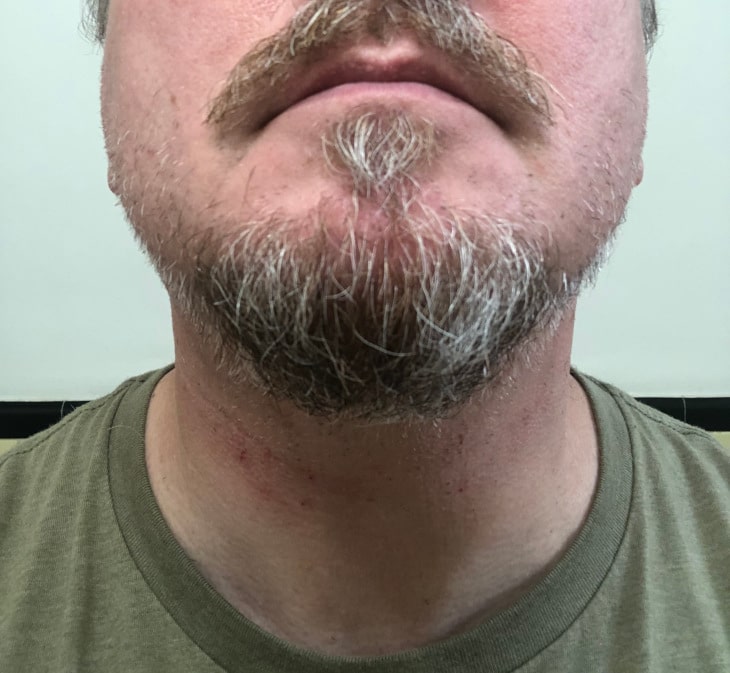
OK—now it’s time to go after the hairs underneath the neck. As you can see, they’re a mess—they’re curly and long:

Here, again, our handsome beard model goes in without a trim guard—but only to get the whiskers at the BOTTOM of the beard. For the longer hair underneath the chin, he’ll use one of the longer trim guards.
Lastly, it’s time to pare down that soul patch above the chin but beneath the lower lip. It spreads out in a bunch of different directions, and needs just a little bit of thinning:
And, after all that, you get this! Take a close look at each of the following, and really zone in on what you see:
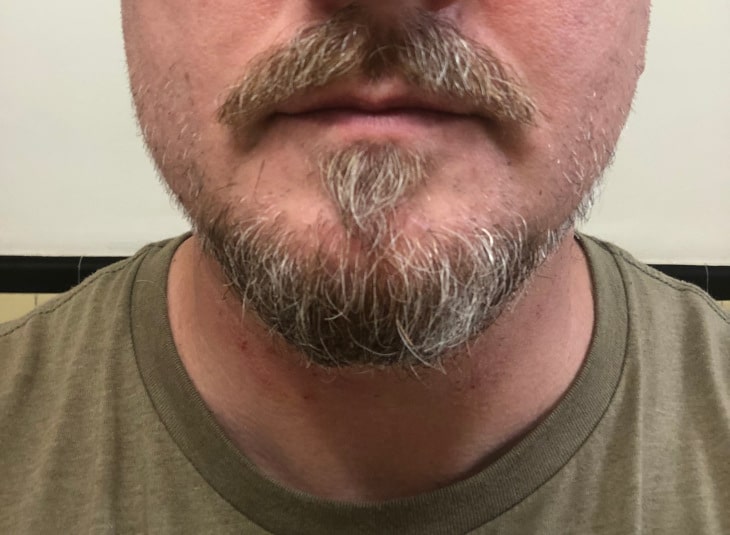
> The mustache no longer hangs over the top lip, and it’s (just about!) even on both sides;
> The whiskers at the cheeks and sideburns are very short but visible, providing a great “stubble” look—and those whiskers are about the length you’ll get when you DON’T use a trim guard.
> The hair below the chin is tighter and more focused, and that look was achieved by using one of the shorter trim guards;
> The soul patch is in better shape, and resembles a “downward V” shape.
The new look isn’t perfect—there are still a few fly-aways that need clipping—but it’s MUCH better, especially when you compare it to how it USED to look:
There are few other things we should mention.
Earlier, we shared that a few of the teeth on the shaver head were broken. If you use a beard trimmer with broken teeth, you may find that the shaver head cuts your skin, and leaves you with painful red bumps—which is exactly what happened:
If you look beneath the neck, there are a few cuts that weren’t there before the trim. Broken teeth are a pretty common problem for beard trimmers as they age, so be sure to check your trimmer after a few months/years of use.
Before we wrap up, there are two other tools we should mention. We didn’t use them, but they’re great to have. The first is the foil shaver that comes with the kit—it looks like this:
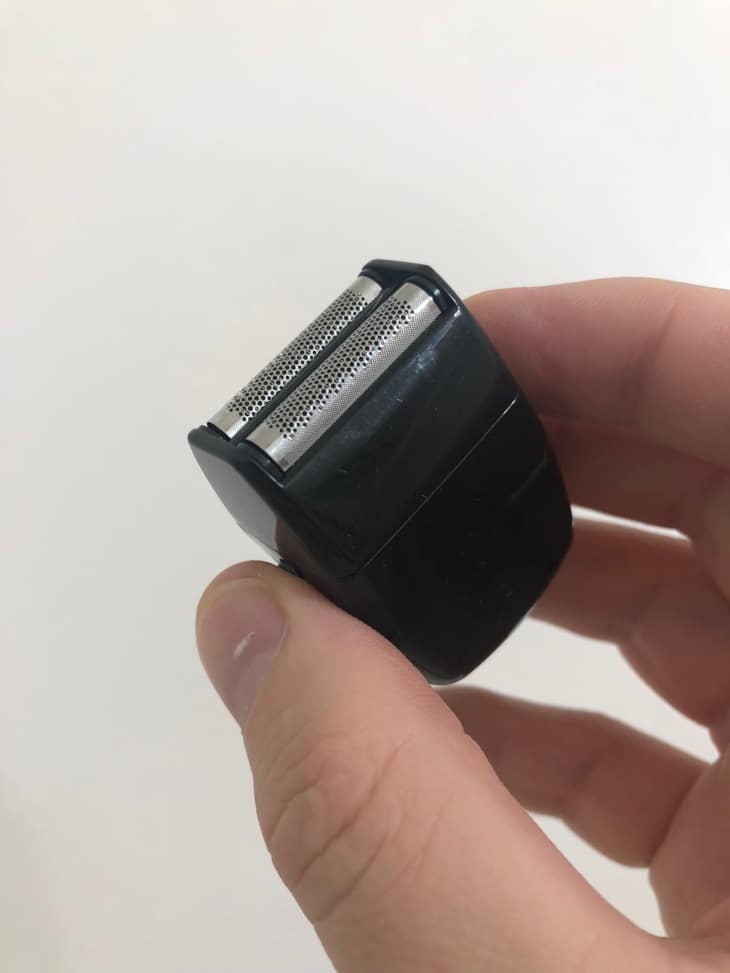
To use the foil shaver, simply remove the shaver head and install the foil shaver onto the trimmer itself. Then turn on the shaver and rub it gently over the areas where you want a CLOSE shave. It’s a nice little piece of gear that’s great for goatees and shaving the area underneath your jawline.
There’s one other piece of gear with should mention, and that’s the sideburn and mustache trimmer. It looks like this:
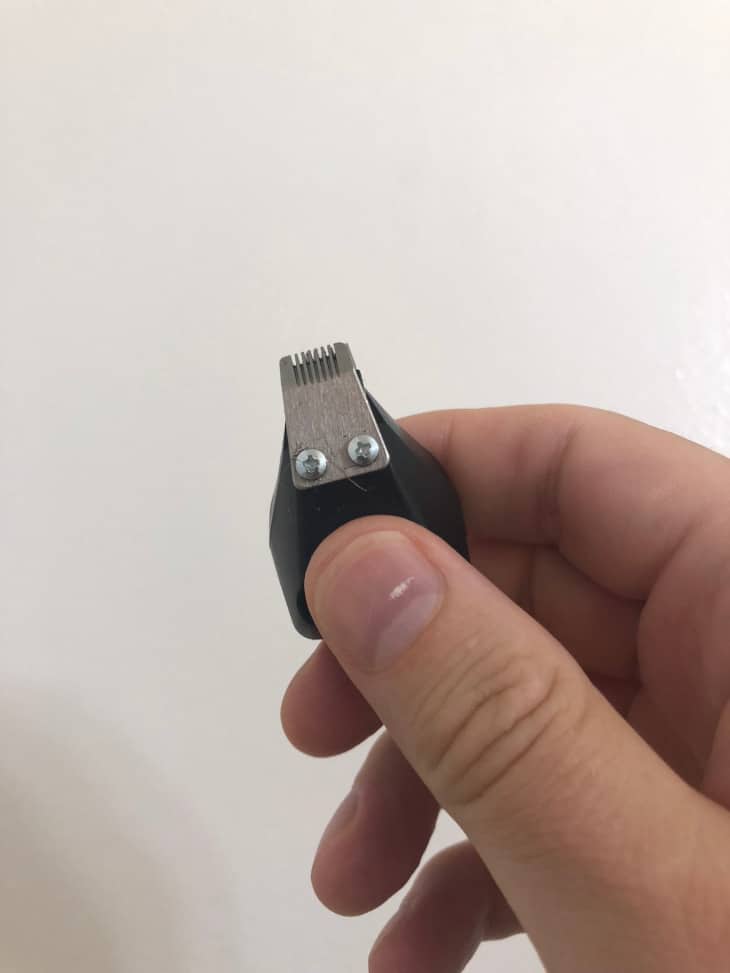
If you want to do some detail work around your mustache or lips or sideburns, it can be a very helpful tool.
Alright! There you have it: how to use a Wahl trimmer on your beard. We promised you a video, so here are two from Wahl themselves, which show a few of the techniques we’ve used, as well as few others:
…and…
We hope that helps! If you have any questions, please jump over to our “Contact” page and drop us a line, and until next time—be good, have fun, and happy beard!
Michael Morris is the head writer here at Rough and Tumble Gentleman. He's got a ducktail beard and loves Brazilian jiu-jitsu. He's married to the woman of his dreams and lives in Brooklyn, NY.