There’s nothing quite like a well-executed fade. It’s universal, it’s timeless, and you can wear just about anywhere. A man with a fade looks stylish and put-together, but also a little more stylish than if he had opted for a more traditional taper. It’s not an easy look to pull off, though, and if you’re learning how to fade hair by yourself, there’s a lot that can go wrong.
In fact, we’ve worked with a number of new barbers over the years, and they all seem to get the same. things. wrong. when they’re perfecting their skills. There are a lot of common mistakes up-and-coming barbers and stylists make.

With that in mind, we’ve put together 19 tips that’ll help you deliver excellent fades, time after time—all while avoiding some of the common pitfalls we see happen again and again. These are the things we see believe you need to do—or not do!—in order to deliver. Let’s get to it:
Tip #1: Choose the Right Clippers
There are dozens of fantastic clippers out there, but they’re not all necessarily right for fades. Some clippers are better for bulk cutting, others are better for more simple hair cuts… You get the point.
A clipper for fades should make it easy for you to change cutting length by very small increments. We’ve compiled a full guide on the best clippers for fades, with options for both beginners and experienced barbers.
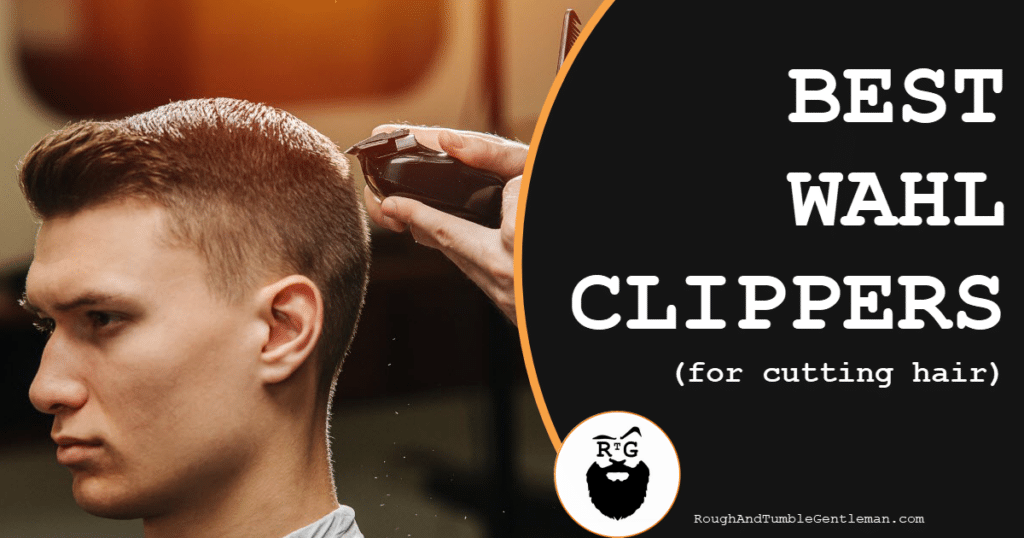
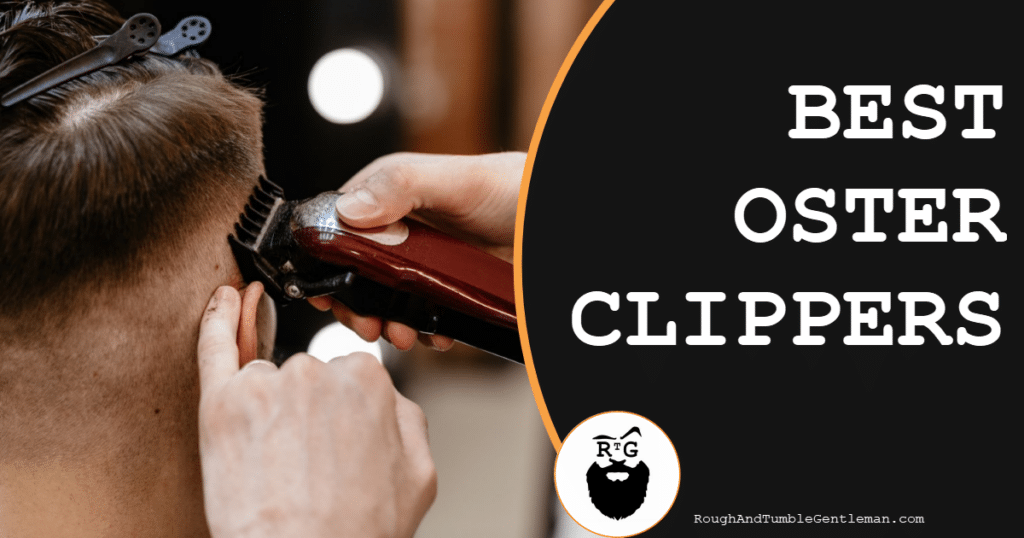
If you’re interested specifically in clippers for professionals, it’s useful to learn about the main barbershop brands: Wahl, Andis, and Oster.
Tip #2: See What You’re Doing
If you’re planning to fade your own hair, setting up your mirrors so you can see what you’re doing is very important. Tri-fold mirrors are probably the easiest to set up, but another option is to have a handheld mirror you can use when working on the back of your head.
Make sure the light is also great where you’ll be cutting hair, or you’ll be surprised at what you might miss. If the spot in the house where you have the best mirror and lighting set up doesn’t have access to electric plugs, make sure to pick up a good-quality cordless hair clipper.
Tip #3: Mise en Place
This fancy culinary term means “putting in place,” and it refers to setting up everything you need before you start cooking. Well, it also applies to barbering! You don’t want to start clipping and then suddenly realize you’re missing an important guard attachment.
If you’re anything like us, having a checklist to look at before you start can help you stay organized. Here are the things you absolutely must have:
- Clippers, of course;
- Guard attachments with numbers/cutting lengths that correspond with the lengths you intend to cut; and
- Comb or brush so you can move the hair around as you work, especially when blending the sides with the top.
There are also some things that aren’t mandatory, but they’re nice to have:
- Scissors to help you refine the top, especially if you’re practicing more advanced techniques;
- Hair-cutting cape so you don’t get covered in scratchy stubble;
- Sectioning clips if you’re fading longer hair;
- Razor or shaver for skin fades; and,
- Multiple mirrors so you can see what you’re doing if you’re fading your own hair.

Tip #4: Learn the Terminology
As in any field, barbering has its own vocabulary. If you’re going to really dive into the world of fading hair, it’s important to know what the different terms mean.
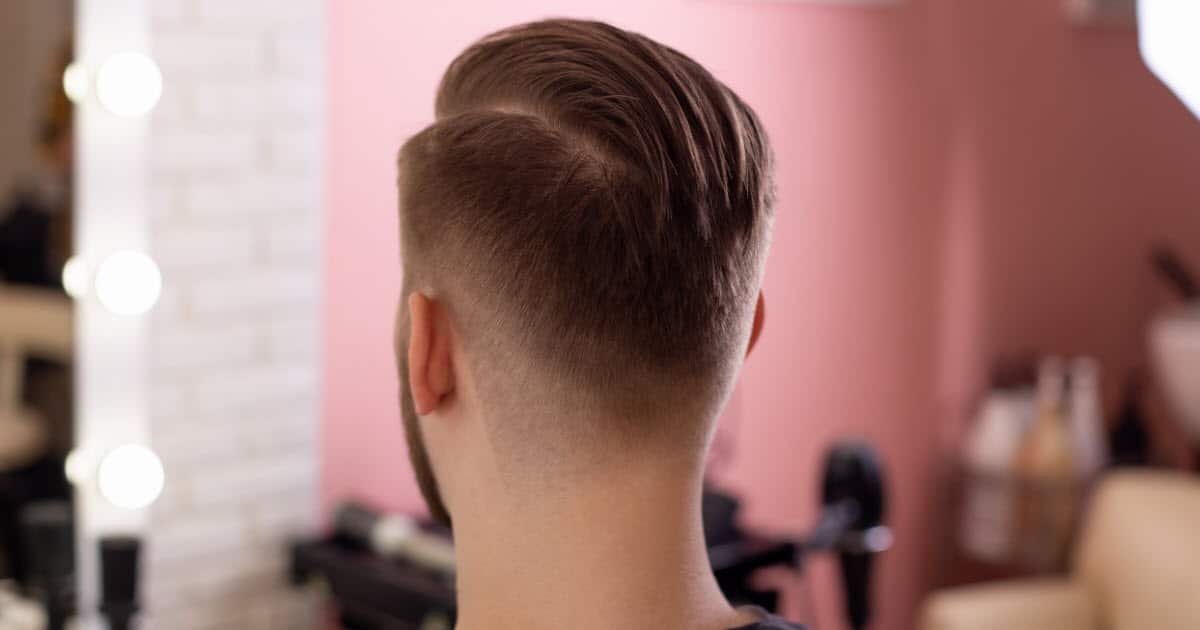
Fade: A fade is a hairstyle where the hair is tightly trimmed or even shaved along the neck and sides, and then it gradually becomes longer towards the top. It’s called a fade because it looks like the hair fades into the neck.
Guard numbers: Most hair clipper brands number their blade and guard cutting lengths, usually following approximately the same standards. 000 is 0.5 mm (i.e. the default on most naked clipper blades), 0 is 1.5 mm, 1 is 3 mm, 2 is 6 mm, and so on.
Closed lever: Professional clippers have a lever on the side that adjusts cutting lengths. Having the lever closed will give you the shortest possible cutting length. With most clippers, you’ll need to switch the lever up to close it.
Open lever: This is the longest length to which you can set your clipper blade without a guard. You can even adjust the cutting length when you have guards placed on your clipper, which can be great for blending a fade.
Halfway: Setting your lever to “halfway” will give you a cutting length that’s a little higher than closed lever but shorter than open lever.
Low fade: This refers to where the fade starts. With a low fade, the closely-shaved part of the hair usually doesn’t go higher than the tips of the ears. A low fade is the most conservative type of fade, so it’s often preferred for work or business settings.
High fade: With this fade, most of the sides and back of the head will be shaved or tightly trimmed, with a very short “gradient” portion into the top of the head. If there’s blending involved, a “high and tight” haircut can be a type of high fade.
Medium fade: The in-between fade that usually starts near the top or slightly above the ears.
Taper: A taper hairstyle is similar to a fade, but usually a little longer—some barbers would even say that a fade is just a very tight taper.
Tip #5: Don’t Rush to Zero-Gap
Zero-gapping is all the rage right now. If you’re not familiar, this term refers to a technique of aligning the blade on your clipper so it cuts much closer than the default when the lever is closed. This is one way of achieving a really bald fade.
Because those kinds of fades are having a big moment right now, a lot of guys decide to zero-gap their clippers before they’ve even mastered the basic fading technique. However, using zero-gapped clippers without the requisite experience can make clipping more difficult, not to mention it puts you at risk of cutting yourself or anyone else whose hair you attempt to fade. Plus, some clippers for home use aren’t designed to be zero-gapped at all.
That’s why we highly recommend you get a feel for your clippers and get really good at creating not-so-tight fades before you take that next step.
Tip #6: Don’t Overwhelm Your Clipper
If you’re dealing with longer hair, you’ll want to remove a lot of bulk before you start fading. Otherwise, if you attempt to start fading the longer hair, your clipper is probably going to get clogged up or overheated.
Always start by trimming away the really long hair by using your clipper with a longer guard attachment. If you’re keeping the top long, this is when a sectioning clip will come in handy, to get that hair out of your way.
Tip #7: Master the “Steps”
Knowing how to fade hair is all about mastering the “steps” which is how we think about outlines. Basically, a fade is all about transitioning the hair gradually from close-cropped at the bottom to slightly longer as you move up.
While the final result should look seamless, it’s first all about learning to clip the hair in strips or outlines. An unblended fade will basically look like upside-down stairs cut into a person’s hair.
Most barbers start by creating the first fade outline. Often, they’ll flip their clipper so the blades are perpendicular against the skin, but be careful with such a technique as you may irritate the skin.
After you create your first outline, slowly open the lever on their clipper or add more guards as you move up, and create the next outline above the first one. When you start out, it’s better to opt for thicker outlines, but with time, you can make them thinner and thinner for utterly seamlessly fades.
Here’s a great example of how to create your own fade outlines as a beginner:
Tip #8: Be Careful with Outlines
Remember to be careful when creating your outlines, to guarantee that your fade isn’t lopsided or crooked. That said, your outlines don’t have to be straight. You’ll probably want to adjust the shape of your fade lines so they curve nicely along with the shape of the head.
You can even adjust the shape of your outlines to hide any unevenness in the scalp. On the other hand, you can opt for very straight lines if you want to create a more striking, straight-across fade.
Tip #9: Practice the Swoop
When working on your outlines, one way to make sure the final result is easier to blend is by always swooping your clipper upwards and outwards as you cut. By curving it out as you finish each stroke, you create a taper that prevents your outlines from being too stark. That way, once it’s time to blend later, it’ll be a little easier. Plus, the same swooping technique can also be very useful as you blend later on.
Tip #10: Master the Blend
The most important element of a really nice fade is how well-blended the outlines are. Blending is when you get rid of that harsh edge between the “steps” in the hair, to create that faded effect.
The easiest way to fade is to adjust the cutting length of your clipper to a length that’s somewhere between the shorter bottom section and the longer upper section. Then, use that length to blend that line of demarcation.
Master barbers will often just use the clipper on the shorter length, and just adjust their pressure. This can work incredibly well, especially if you don’t have a lot of comb guards or your clipper doesn’t have a blade adjustment lever, but you’ll need a lot of practice to get good at it.
Here’s a great example of how to blend carefully, although note that you don’t have to do it quite so painstakingly when you first start out:
Tip #11: Don’t Forget the Front
We usually focus on the back and sides of the head when doing a fade, but don’t forget to think about the sideburns, temples, and hairline. Will you just trim the sideburns? Will you fade them as well? If so, how high? Most guys choose to fade their sideburns along with the sides, especially with medium and high fades. However, what you do is totally up to you, as long as you don’t neglect them!
This seems like an obvious one, but we’ve helped a lot of guys learn how to fade hair, and this happens a lot.
Tip #12: Skin Fade with a Razor
If your heart is set on creating skin fades but you don’t feel ready (or aren’t interested) in zero-gapping your clipper, you have other options. Instead of using your clipper for everything, you can finish off your fade with some sort of razor or shaver. Basically, once you complete the fade, shave the areas where you want the skin to be really bare.
Foil shavers are really great for the job because they’re fast, easy to use, and provide a close shave. That said, you can use any kind of razor, including a safety razor or even a straight razor if you’re really ambitious.
Tip #13: Take Your Time
You can’t rush a good fade haircut. Sure, master barbers can do an amazing fade in 10 minutes, but if you’re a beginner or doing your own fade at home, give yourself as much time as you need, especially for the first few times.
We think the average guy doing his own fade at home for the first time could take as long as an hour or two. Over time and with a lot of practice, you can expect to be able to do your own fade in as little as 45 minutes, while on others you could be even faster.
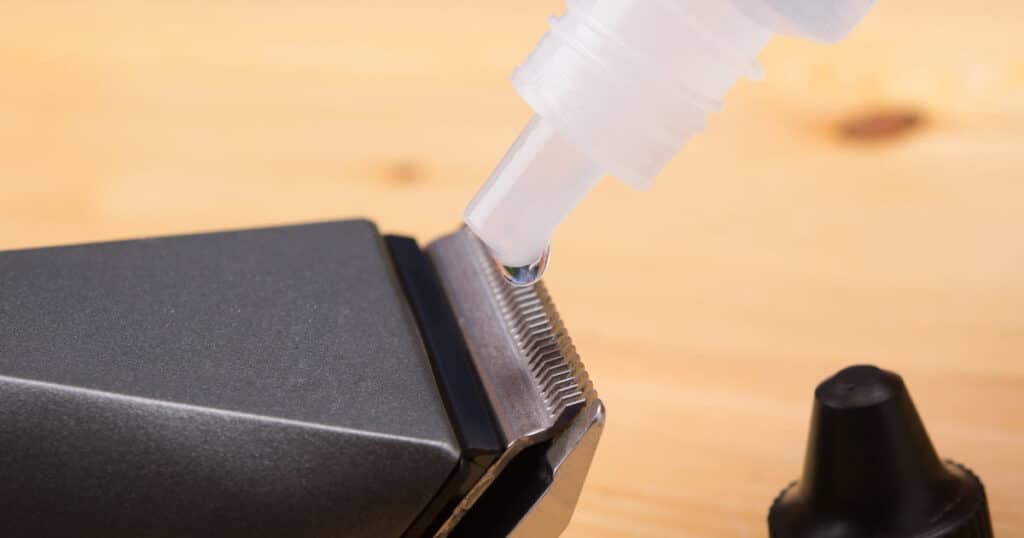
Tip #14: Take Great Care of Your Clipper
It’s easier to fade hair when your clipper is in great shape. That’s why it’s totally worth it to take good care of your clipper. That means keeping it clean and free from stubble, oiling it to keep it sharp and lubricated, and storing it in a clean, dry place. If you’re going to be working on others, sanitizing it between haircuts is also a must.
If your clipper is cordless, you’ll also want to take good care of the battery by following the manufacturer’s advice, otherwise it might stop holding a charge.

Tip #15: Do Try Zero-Gapping… Eventually
Once you feel ready (and not beforehand!), zero-gapping will upgrade your fade game. It’ll allow your clipper to rival a foil shaver for closeness, making it easier to create really tight skin fades.
To zero gap your clipper, you’ll need the clipper itself and a small screwdriver. Then, all you need to do is unscrew the blade, re-align it so both pieces sit with a smaller (or no) gap, and then re-tighten the screws.
It’s easier said than done, so we highly recommend watching this video to see how a pro zero-gaps his clippers:
Tip #16: Experiment with Techniques
Different barbers like to do things in different orders, with no rules set in stone. While most professionals prefer to work their way from the fade upwards, others like to work from longest to shortest or to move around between the different steps.
For example, this barber prefers to work on the top part of the taper first, before focusing on the fade. This video is also a great example of how to trim and fade longer hair:
Tip #17: Get Creative with Designs and Styles
There are as many types of fades out there as there are people cutting fades. Once you feel quite confident in your skills, don’t be afraid to get creative!
You can play around with the gradient of your fade or how high it starts (i.e. a “high and tight”), or play around with designs and outlines, especially where your fade meets the top of your head or along the front of your hairline.
Knowing how to create designs can be really rewarding. You may want to use a trimmer (we like the trimmers from Wahl, especially) instead of a big clipper. Here’s a great example of how to do a medium fade with a cool design:
Tip #18: Get Inspired
If you’re going to be creative, it’s good to also have sources of inspiration. From celebrities to other barbers, there is no shortage of people doing cool things with fade haircuts. Go on websites like Pinterest and Instagram and search for keywords like “fade haircuts” or “barber”—you’ll find all kinds of cool examples of what fade haircuts can look like.
Make sure to follow your favorite barbers or celebrities so you can stay up to date with what they’re doing. If you create your own profile and post your own photos, you could also become a source of inspiration for others!
Tip #19: Let Yourself Break the Rules Eventually
With practice, you’ll have more mastery and control over your clippers. At that point, you can give yourself permission to break some rules. Maybe you don’t want to work in a typical short-to-long order, or maybe you feel like you can freehand the blending instead of using guards.
Here’s an example of how, with enough experience, a barber can create a fast yet perfect fade by relying on his own intuition:
Fade Away
And that’s it for our hair fading tips. We can now fade back into the ether! Fading isn’t the easiest cut to master, but it’s worth the effort. Few other men’s hairstyles are so versatile and offer so much room for creativity and experimentation.
We hope there’s something here that helps you—be good, have fun, and happy fading!
Michael Morris is the head writer here at Rough and Tumble Gentleman. He's got a ducktail beard and loves Brazilian jiu-jitsu. He's married to the woman of his dreams and lives in Brooklyn, NY.